PLCopen Motion Blocks: MC_MoveAbsolute and Friends
If you have ever set up a servo axis in TwinCAT, Sysmac, CODESYS, or ctrlX Works, you have already met PLCopen motion control whether you knew it or not. The PLCopen MC function blocks are a vendor-neutral standard (Part 1 of the PLCopen Motion Control specification) that defines a common set of function blocks for single-axis motion. Siemens, Beckhoff, Omron, Bosch Rexroth and a dozen others all implement the same block names, the same input/output pins, and the same axis state machine. You learn it once and it transfers.
That said, there are real differences between vendor implementations that catch people out. This post walks through the core blocks, the axis state machine they all share, the sequencing rules that matter, and the gotchas I have run into on real commissioning jobs.
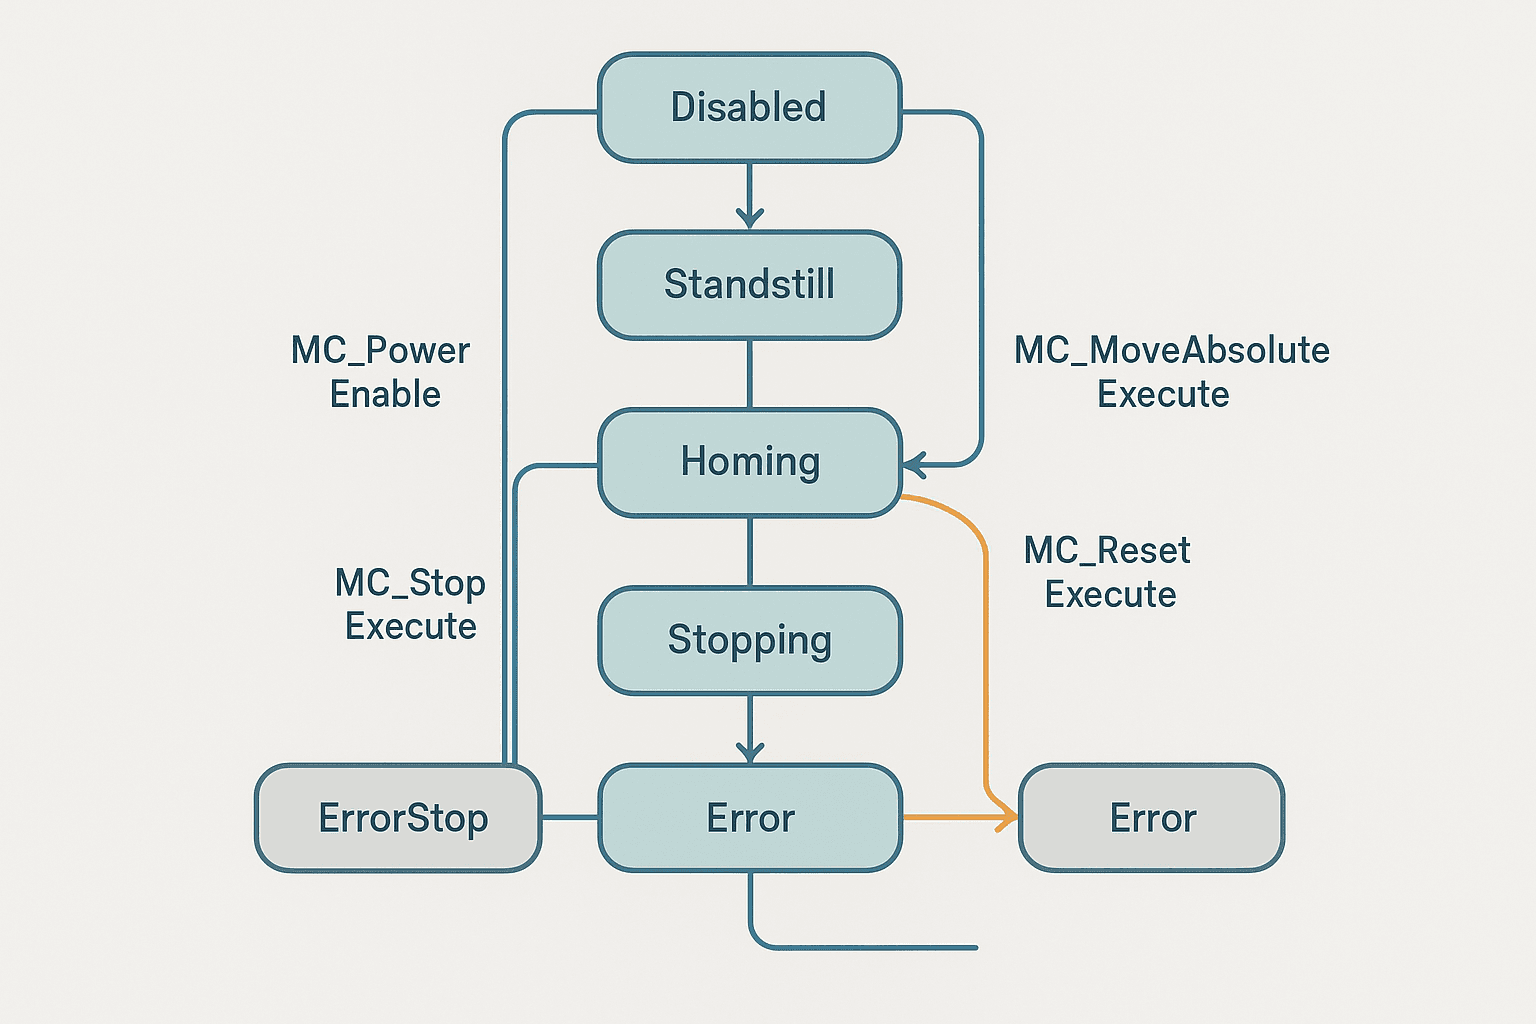
The PLCopen Axis State Machine
Every PLCopen axis lives in exactly one state at any moment. The blocks you call transition the axis between states. Understanding the state machine is more important than memorising individual block pins, because if you call the wrong block in the wrong state you will get an error code, not motion.
| State | What it means | Typical trigger to enter |
|---|---|---|
| Disabled | Power stage off, no control loop active | Start condition or after MC_Power.Enable = FALSE |
| Standstill | Power on, axis stopped, ready for commands | MC_Power.Enable = TRUE and Status = TRUE |
| Homing | Reference run in progress | MC_Home.Execute rising edge |
| Discrete Motion | Moving to a target position or velocity | MC_MoveAbsolute / MC_MoveRelative / MC_MoveVelocity |
| Continuous Motion | Velocity command with no end position | MC_MoveVelocity |
| Synchronized Motion | Gearing or camming with another axis | MC_GearIn / MC_CamIn (Part 2) |
| Stopping | Controlled deceleration in progress | MC_Stop.Execute rising edge |
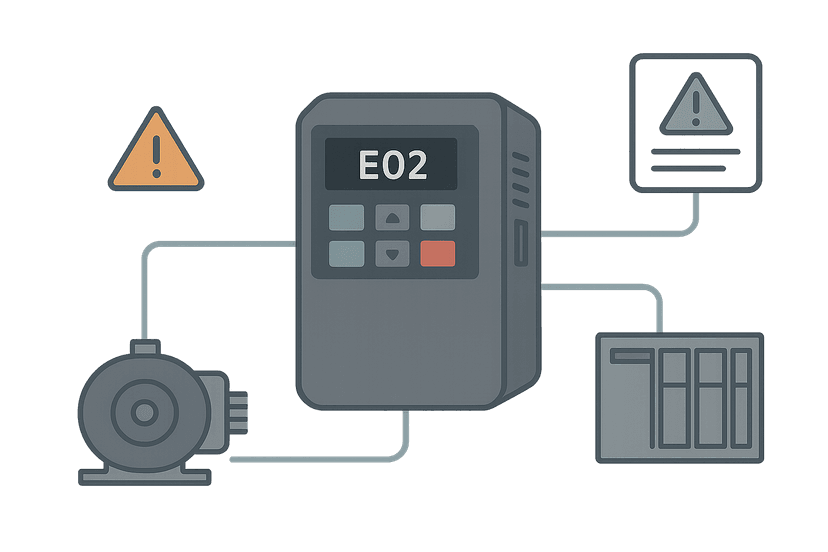
| ErrorStop | Fault detected, axis decelerating or stopped | Drive or encoder fault, limit hit |
| Error | Axis halted with active error | Remains until MC_Reset clears it |
The Core PLCopen Motion Control Blocks
MC_Power: Enabling the Axis
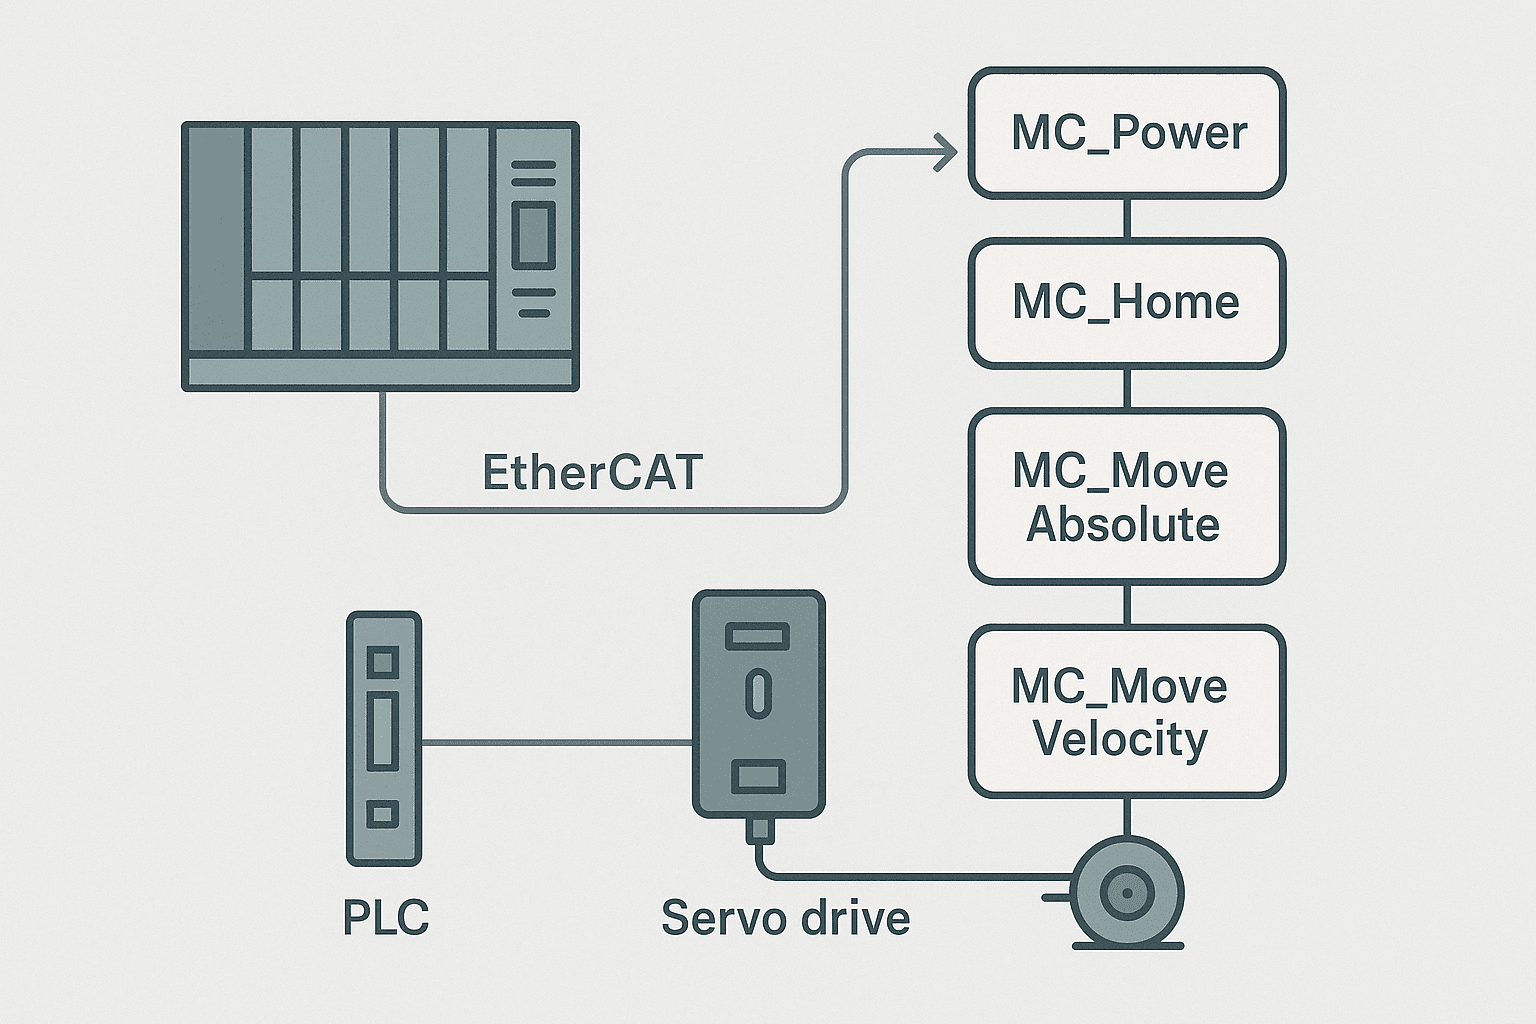
MC_Power is always the first block in your program. It connects the PLC's logical axis object to the physical drive and enables the power stage. The two key outputs are Status (TRUE when the drive is powered and ready) and Error. You gate every other motion block on Status = TRUE.
On Beckhoff TwinCAT, MC_Power also has EnablePositive and EnableNegative inputs that software-limit travel direction. They are both TRUE by default, but wiring your positive and negative hardware limit switch signals here is cleaner than using separate interlock rungs.
MC_Home: Reference the Axis Before You Move It
Absolute encoders skip this step, but most applications with incremental encoders need a homing run on every power-up. MC_Home accepts a HomingMode integer that tells the drive which homing strategy to use. The exact mode numbers are vendor-specific, which is one of the biggest portability traps in PLCopen. Mode 3 might mean 'home to negative limit then index pulse' in TwinCAT and something completely different in Sysmac. Always cross-reference the vendor's axis parameter documentation.
The Position input sets the axis coordinate value that will be assigned when the home sensor is detected. If your machine zero is 50 mm from the hard stop, set Position = 50.0 and the axis will call that point zero after homing. This saves you from applying offsets everywhere else in the program.
MC_MoveAbsolute: Go to a Specific Position
This is the workhorse for point-to-point positioning. You supply Position (in the axis engineering unit, usually mm or degrees), Velocity, Acceleration and Deceleration. The block moves the axis and sets Done TRUE when it arrives within the in-position window defined in the axis parameters.
One thing that trips people up: Execute is edge-triggered. You raise it once, the block latches the command internally, and the axis starts moving. If you hold Execute = TRUE and then change Position mid-move, the block ignores the new value until the next rising edge. This is intentional, but it means you must pulse Execute, not hold it. In ladder, an OSR (one-shot rising) instruction is your friend here.
MC_MoveRelative: Move by an Offset
Same pins as MC_MoveAbsolute but Distance replaces Position. The axis moves the specified distance from wherever it is right now. Useful for indexing applications where you always step forward 200 mm per part regardless of absolute position. Just remember that homing still matters; if you lose position on power loss, a relative move from a wrong starting point crashes into a hard stop.
MC_MoveVelocity: Run at a Constant Speed
MC_MoveVelocity puts the axis in continuous motion at a commanded velocity. It has no target position; the axis runs until you call MC_Stop or issue a new motion command. The InVelocity output goes TRUE when the axis has reached the commanded speed within a tolerance band. This block is what you use for conveyor-style applications where the servo is acting like a fancy variable-speed drive.
MC_Stop: Controlled Deceleration
MC_Stop decelerates the axis at the Deceleration rate you specify and then holds the axis in the Stopping state for as long as Execute is TRUE. This is important: the axis will not accept new motion commands while MC_Stop.Execute is held TRUE, even after the axis reaches zero speed. You must drop Execute to release the axis back to Standstill. I have seen programs where MC_Stop.Execute was tied to a latched bit that never cleared, and the machine was stuck in a loop wondering why MC_MoveAbsolute was not responding.
MC_Reset: Clear an Error
After a fault, the axis sits in the Error state. MC_Reset on a rising edge clears the error and, if the underlying drive fault is gone, transitions the axis back to Standstill. It does not re-enable the power stage by itself; MC_Power must still be active. On most drives you also need to acknowledge the drive-level fault separately before MC_Reset will succeed, either via a drive parameter write or a dedicated digital output to the drive reset input.
Buffered vs Aborting Motion: The BufferMode Input
MC_MoveAbsolute, MC_MoveRelative and MC_MoveVelocity all have a BufferMode input. The default is Aborting (value 0), which cancels any active motion and starts the new command immediately. Set it to Buffered (1) and the new command queues behind the current one and executes when the current move finishes. BlendingPrevious and BlendingNext are higher modes that blend the velocity profile between moves for smoother multi-segment trajectories.
A Real Sequence: Power On, Home, Move to Position
Here is how a typical startup sequence looks in Structured Text under CODESYS or TwinCAT. The same logic ports directly to Omron Sysmac Studio or Bosch ctrlX Works because they all use the same block interfaces.
// Axis startup sequence: Power -> Home -> MoveAbsolute
// Works in CODESYS 3.5, TwinCAT 3, Sysmac, ctrlX Works

VAR
    Axis1           : AXIS_REF;
    fbPower         : MC_Power;
    fbHome          : MC_Home;
    fbMoveAbs       : MC_MoveAbsolute;
    fbStop          : MC_Stop;
    fbReset         : MC_Reset;

    bEnable         : BOOL := FALSE;   // operator enable
    bStartHome      : BOOL := FALSE;   // rising edge triggers home
    bStartMove      : BOOL := FALSE;   // rising edge triggers move
    bStopCmd        : BOOL := FALSE;
    bFaultAck       : BOOL := FALSE;

    rTargetPos      : LREAL := 250.0;  // mm
    rVelocity       : LREAL := 100.0;  // mm/s
    rAccel          : LREAL := 500.0;  // mm/s2
    rDecel          : LREAL := 500.0;  // mm/s2

    eSeqState       : INT := 0;
END_VAR

// --- MC_Power: always running ---
fbPower(
    Axis            := Axis1,
    Enable          := bEnable,
    EnablePositive  := TRUE,
    EnableNegative  := TRUE,
    Override        := 100.0,
    Status          =>,
    Error           =>,
    ErrorID         => );

// --- MC_Reset: fault acknowledgement ---
fbReset(
    Axis    := Axis1,
    Execute := bFaultAck);

// --- MC_Stop: operator stop ---
fbStop(
    Axis         := Axis1,
    Execute      := bStopCmd,
    Deceleration := rDecel);

// --- Sequencer ---
CASE eSeqState OF

    0: // Wait for power ready
        IF fbPower.Status THEN
            eSeqState := 10;
        END_IF

    10: // Wait for home command
        IF bStartHome THEN
            bStartHome := FALSE;
            eSeqState  := 20;
        END_IF

    20: // Execute home
        fbHome(
            Axis       := Axis1,
            Execute    := TRUE,
            Position   := 0.0,
            HomingMode := 3);   // vendor-specific: check your drive manual
        IF fbHome.Done THEN
            fbHome(Axis := Axis1, Execute := FALSE);  // drop Execute
            eSeqState := 30;
        ELSIF fbHome.Error THEN
            eSeqState := 90;
        END_IF

    30: // Wait for move command
        IF bStartMove THEN
            bStartMove := FALSE;
            eSeqState  := 40;
        END_IF

    40: // Execute MoveAbsolute
        fbMoveAbs(
            Axis         := Axis1,
            Execute      := TRUE,
            Position     := rTargetPos,
            Velocity     := rVelocity,
            Acceleration := rAccel,
            Deceleration := rDecel,
            BufferMode   := 0);     // Aborting
        IF fbMoveAbs.Done THEN
            fbMoveAbs(Axis := Axis1, Execute := FALSE);
            eSeqState := 30;        // back to idle, ready for next move
        ELSIF fbMoveAbs.Error THEN
            eSeqState := 90;
        END_IF

    90: // Error state
        IF bFaultAck THEN           // bFaultAck also feeds MC_Reset above
            bFaultAck  := FALSE;
            eSeqState  := 0;
        END_IF

END_CASEExecute back to FALSE after Done is seen. This is required. If you leave Execute TRUE and the same block is called again next scan, some implementations re-trigger the move on the next rising edge of a control bit, causing unexpected repeat moves. Always clean up Execute.PLCopen Motion Control Across Vendors: What Changes
The block names and pin names are standardised. The axis engineering units, the internal axis object type, and homing mode numbers are not. Here is a quick comparison of what actually differs between common platforms.
| Platform | Axis object type | Homing mode source | Typical cycle time | Notes |
|---|---|---|---|---|
| Beckhoff TwinCAT 3 | AXIS_REF | TwinCAT MC2 documentation, modes 1-35 | 250 µs to 1 ms EtherCAT | Most complete Part 1 implementation; MC_TouchProbe supported |
| CODESYS 3.5 (generic) | AXIS_REF | Depends on drive plugin | 1 to 4 ms typical | Block library version matters; check SM3_Basic vs SM3_CNC |
| Omron Sysmac (NJ/NX) | AXIS_REF | Omron EtherCAT slave docs | 500 µs EtherCAT | MC_Home mode linked to Sysmac axis parameters, not block input |
| Bosch Rexroth ctrlX | AXIS_REF | ctrlX MOTION parameter set | 1 ms | Uses CODESYS runtime underneath |
| Siemens S7-1500T | TO_Axis (technology object) | TIA Portal TO config wizard | 1 to 4 ms PN/EtherCAT | Uses S_MC blocks, not standard PLCopen names exactly |
Siemens deserves a special mention. The S7-1500T uses technology objects (TOs) and instruction names like MC_Power, MC_Home and MC_MoveAbsolute that look identical to PLCopen, but the axis data type is a Siemens-specific TO_Axis structure, and some pin names differ slightly. It is PLCopen-inspired, not a strict Part 1 implementation. If you are migrating code from CODESYS to TIA Portal, plan for a non-trivial adaptation pass. If you want a deeper look at TIA Portal data structures, the post on TIA Portal Data Blocks is worth reading alongside this one.
Common Commissioning Mistakes
- Calling MC_MoveAbsolute before homing. The axis state machine allows it if the axis is in Standstill, but your position reference is garbage. Always interlock on a Homed status bit.
- Not handling the Error output. Both MC_MoveAbsolute.Error and Axis1.Status.Error exist and they are not always the same signal. Log both, and log the ErrorID number, not just a boolean.
- Forgetting that velocity and acceleration are in axis units per second, not per minute. If your axis unit is mm and you set Velocity = 100, that is 100 mm/s, not 100 mm/min. I have seen this set up wrong more times than I can count.
- Using the same FB instance for two axes. Each axis needs its own MC_Power, MC_Home, MC_MoveAbsolute instance. Sharing instances corrupts internal state.
- Setting Deceleration = 0. Some implementations treat zero as 'use drive default', others throw an error immediately. Always supply a real non-zero value.
- Ignoring the following error. If the axis cannot keep up with the commanded profile (inertia too high, drive limits too tight, cycle time too slow), the drive will eventually trip on a following error. Check your drive's position error window setting early in commissioning.
Choosing Between a PLC Motion Solution and a Standalone Motion Controller
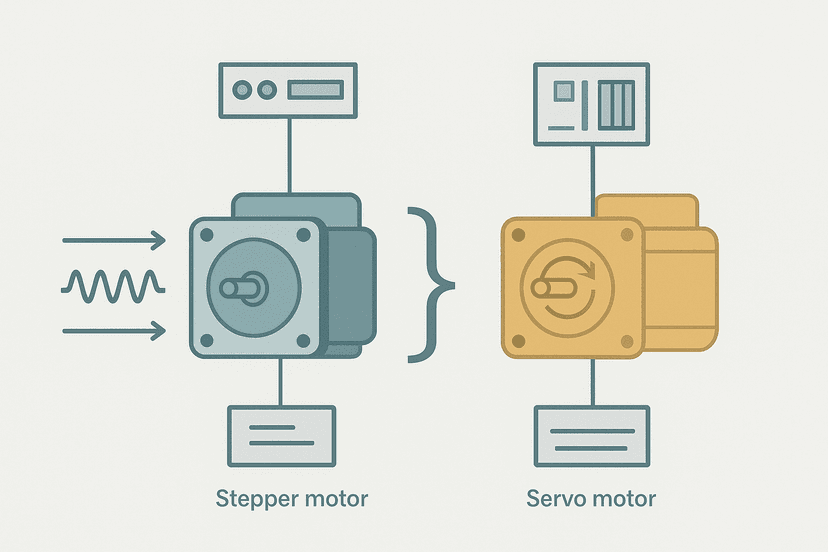
If you have ever wondered whether you need a dedicated motion controller or whether a PLCopen-capable PLC is enough, the honest answer is: for most single-axis and simple multi-axis applications, a modern PLCopen PLC handles it fine. Where you actually need a standalone controller is when you need sub-250 µs cycle times for high-dynamic applications, complex multi-axis interpolation (5-axis CNC paths), or cam profiles with thousands of points that would crush a standard PLC task. For a conveyor index, a pick-and-place robot with 2 to 4 axes, or a winder with tension control, a PLCopen PLC on EtherCAT is the right tool and costs less to program and maintain. You might also find the comparison in Stepper vs Servo Motor useful when deciding what actuator to pair with your PLCopen axis.
Quick Reference: PLCopen Block Inputs and Outputs
| Block | Key inputs | Key outputs | Trigger type |
|---|---|---|---|
| MC_Power | Enable, EnablePositive, EnableNegative | Status, Error, ErrorID | Level (not edge) |
| MC_Home | Execute, Position, HomingMode | Done, Busy, Error, ErrorID | Rising edge |
| MC_MoveAbsolute | Execute, Position, Velocity, Acceleration, Deceleration, BufferMode | Done, Busy, Active, Error, ErrorID | Rising edge |
| MC_MoveRelative | Execute, Distance, Velocity, Acceleration, Deceleration, BufferMode | Done, Busy, Active, Error, ErrorID | Rising edge |
| MC_MoveVelocity | Execute, Velocity, Acceleration, Deceleration, Direction | InVelocity, Busy, Active, Error, ErrorID | Rising edge |
| MC_Stop | Execute, Deceleration | Done, Busy, Error, ErrorID | Rising edge; hold to stay in Stopping |
| MC_Reset | Execute | Done, Busy, Error | Rising edge |
Frequently asked questions
Do I need to call MC_Home every time the PLC powers up?
Why does MC_MoveAbsolute not start moving even though Execute is TRUE?
What is the difference between MC_MoveAbsolute and MC_MoveRelative?
Can I use PLCopen motion blocks on a standard PLC without a motion-specific CPU?
How do I handle a following error fault with PLCopen?
Is PLCopen motion control the same as G-code CNC programming?
Now build it
You have just read about ONS. Reading a rung and making one behave are different skills, and the second one is the job.
Batch Counter (CTU + RES)
Intermediateabout 15 minCount parts passing a sensor; after 4 parts the batch is done and a lamp turns on. A reset button starts the next batch. Counters count RUNG EDGES: a part sitting on the sensor counts once, not forever.
Build this rungFree, no signup, runs in your browser. See all 16 exercises.
Was this helpful?