Omron Sysmac Studio: A Practical Getting-Started Guide
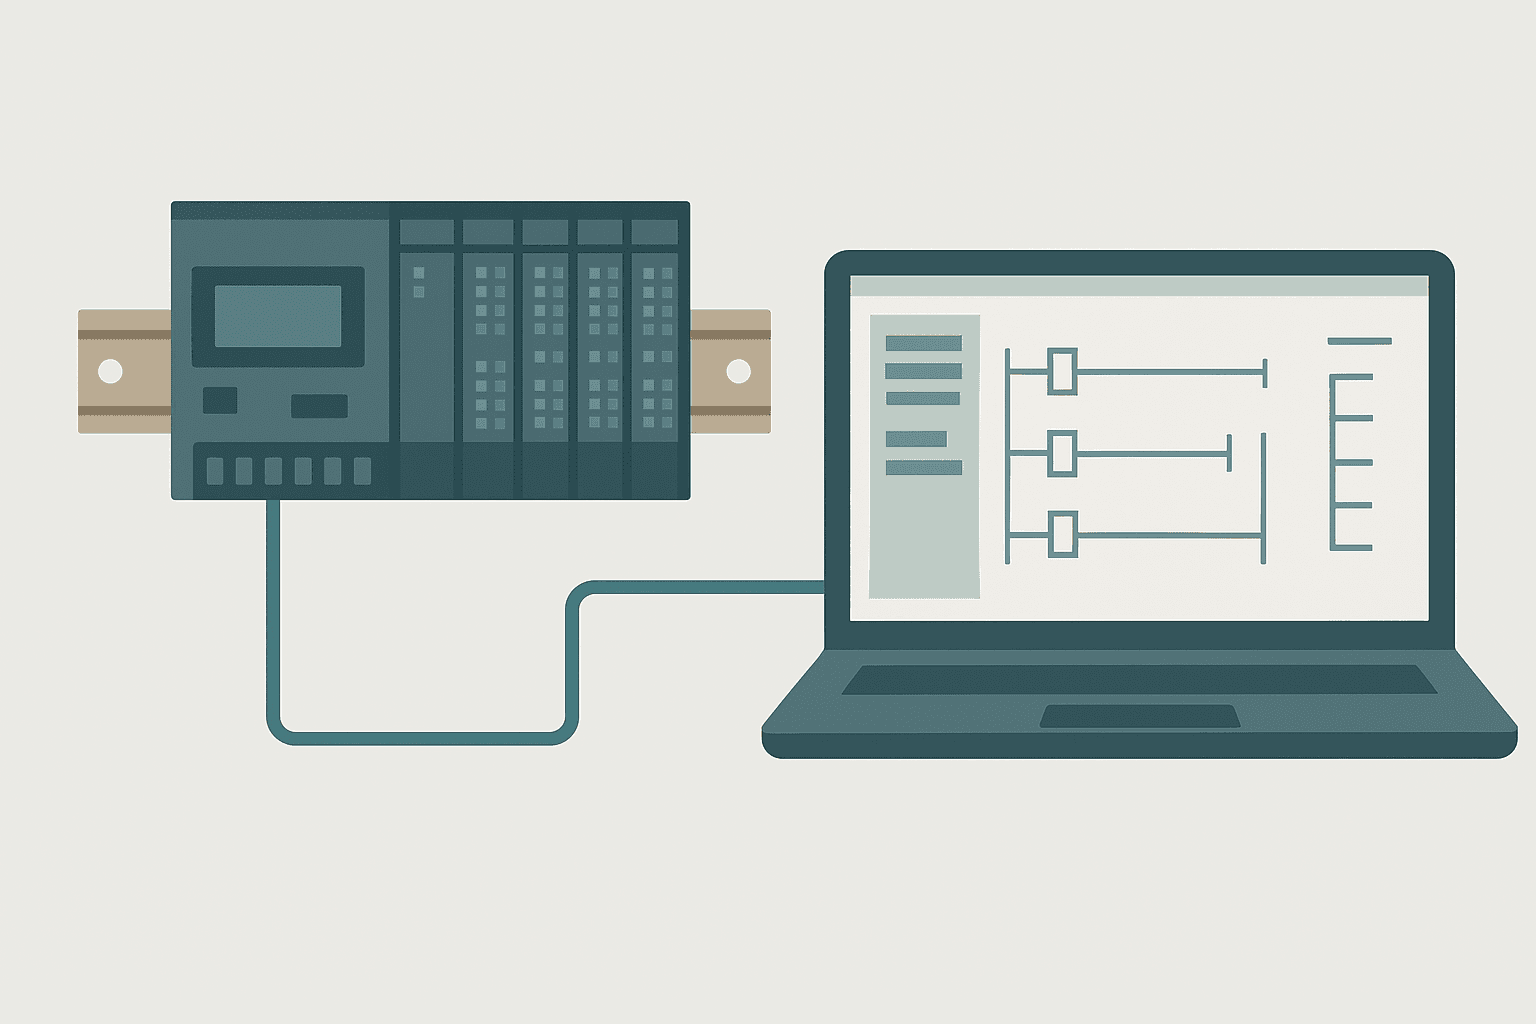
Omron Sysmac Studio is the single programming, configuration and commissioning environment for the NJ and NX series controllers. If you have come from a CJ or CS background with CX-Programmer, the shift to Sysmac Studio feels significant at first. Tag-based variables, IEC 61131-3 compliance, integrated motion and vision in one project tree: it is a genuinely different way of working. This guide gets you past the friction and into productive programming as quickly as possible.
What Is Omron Sysmac Studio?
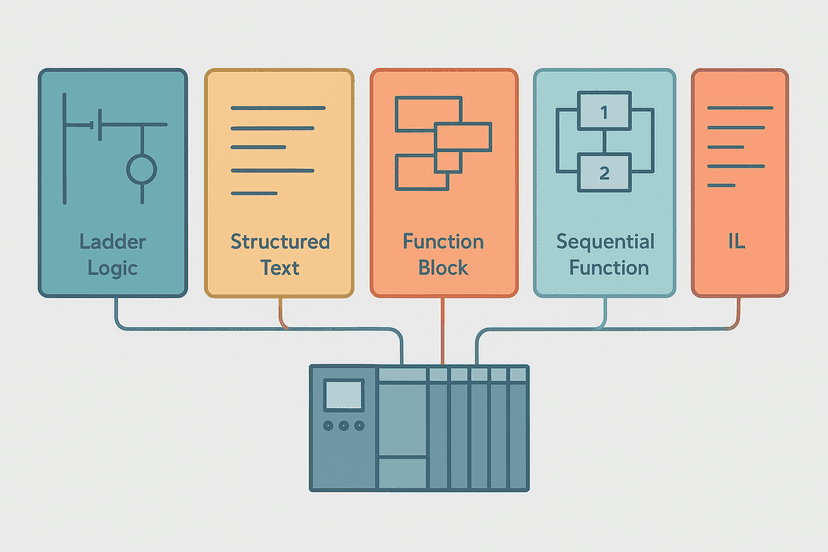
Omron Sysmac Studio is an integrated development environment (IDE) for Omron's NJ and NX series machine automation controllers. It combines PLC programming in all five IEC 61131-3 languages, EtherCAT network configuration, servo and inverter setup, HMI design for Omron NA-series panels, and built-in simulation into a single application. Unlike address-based tools, Sysmac Studio uses symbolic variables throughout, which means your code references named tags rather than raw memory locations like D0 or CIO 0.00.
Installation and Licensing: What to Know Before You Start
Download the installer from Omron's automation software portal. The file is large (typically 4 to 6 GB including all component packages), so plan for a slow connection. Install on Windows 10 or Windows 11 64-bit. The installer bundles the Sysmac Studio IDE, the NJ/NX runtime simulator, USB and Ethernet drivers, and the Motion Control function block libraries.
Licensing trips up a lot of first-time users. Here is the short version: the software installs with a 60-day trial that gives you full functionality. After that you need either a USB dongle license (an Omron W570 key) or a software license tied to your PC's hardware ID. The dongle is the better choice for engineers who move between machines. If you only need to monitor an online controller at a customer site without editing code, the free Lite mode covers that. I have used the dongle for years on commissioning jobs and it has never caused me trouble, but keep a spare license activation code backed up somewhere obvious.
Creating Your First NJ/NX Project
Open Sysmac Studio and select New Project. Choose your controller model (for example NJ501-1300), firmware version and project name. The IDE creates a default project tree with a Controller node, an EtherCAT node, a Programming node and an HMI node if you have an NA panel in the build.
The first thing to configure is the I/O table. Expand Controller and open the I/O Map. This is where you tell the project which NX I/O units are physically plugged into the CPU. Add each unit in slot order: power supply, digital input units, digital output units, analog units. Each unit auto-populates a set of system variables you can use directly in code, for example NX_DI16_001.Inputs[0] for channel 0 of a 16-point input unit.
Unlike Siemens TIA Portal where you drag hardware from a catalog onto a rack graphic (covered in depth at S7-1200 First Program in TIA Portal: Step by Step), Sysmac Studio uses a table-based I/O configuration. Both approaches work; the table is faster once you know the unit model numbers.
Variables: The Biggest Mindset Shift
NJ and NX controllers are purely symbolic. Every piece of data you read or write must be declared as a variable with a name, a data type and a scope. You do this in the Global Variable Table (accessible from the Programming node) or in the Local Variable Table inside a specific POU (Program Organization Unit).
Common data types you will use every day: BOOL for discrete signals, INT and DINT for integer values, REAL for floating-point, TIME for timer presets, and WORD or DWORD for raw bit-field data from comms registers. The NJ/NX also supports structured types (STRUCT) and arrays, which are very useful for recipe management and multi-axis motion. For a deeper look at how data types affect PLC programming across platforms, PLC Data Types: Interview Questions Answered is worth reading.
One thing that catches people out: you cannot just type a new variable name into a ladder rung and have it created automatically, the way Studio 5000 does with auto-tag creation. In Sysmac Studio you must declare the variable first, then reference it in the rung. It is more disciplined, which pays off on larger projects.
Writing Ladder Logic in Sysmac Studio
Create a new Program under the Programming node. Right-click Programs and select Add. Choose Ladder Diagram as the language. You now have a blank rung editor. The toolbar contains contacts (NO and NC), coils, function blocks and instruction boxes. If you want to compare how NO and NC contacts behave in ladder logic before you start, NO vs NC Contacts in PLC Ladder Logic: Full Breakdown is a solid reference.
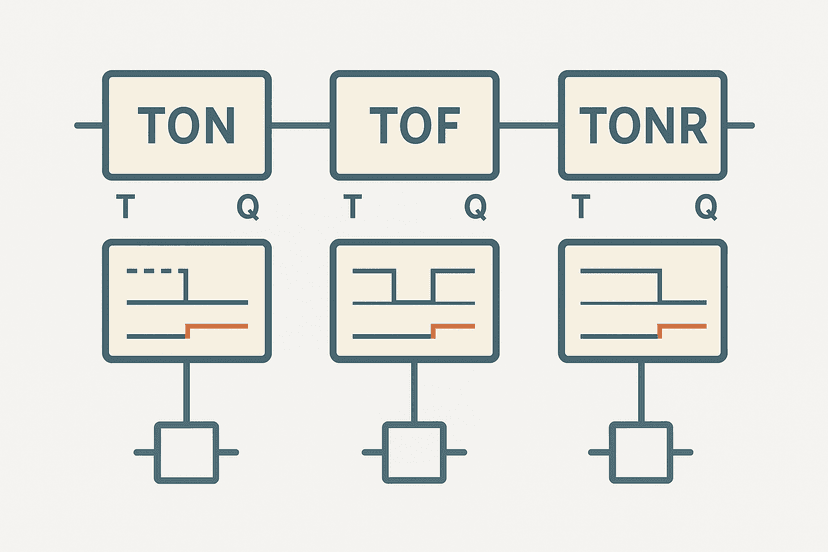
Timer instructions in Sysmac Studio follow IEC 61131-3 closely. The TON function block takes a BOOL input (IN), a TIME preset (PT) and returns a BOOL output (Q) plus elapsed time (ET). The preset is written as T#5s or T#500ms. This is different from Omron's older timer instructions in CX-Programmer, and also different from Rockwell's TON where the preset is an integer in milliseconds. For a full comparison of timer types across platforms, see TON, TOF and TONR Timers: What Actually Differs.
Sysmac Studio: Conveyor Zone Fault Latch with TOF Run-Down Delay. Ladder logic (4 rungs): Rung 0: examine if Zone1_RunCmd is on (XIC), then examine if Zone1_SpeedOK is on (XIC), then examine if Zone1_FaultLatch is off (XIO), then energize output Zone1_ConveyorOut (OTE). Rung 1: examine if Zone1_ConveyorOut is on (XIC), then TOF on Zone1_RunDown. Rung 2: examine if Zone1_RunDown.Q is on (XIC), then examine if Zone1_MotorFB is off (XIO), then examine if Zone1_FaultRise is on (XIC), then latch output Zone1_FaultLatch (OTL). Rung 3: examine if Zone1_FaultLatch is on (XIC), then examine if HMI_Zone1Ack is on (XIC), then examine if Zone1_RunCmd is off (XIO), then unlatch output Zone1_FaultLatch (OTU). Rung 1: The conveyor output energises only when the run command and speed-OK feedback are both true and no fault is latched. Rung 2: A TOF (timer off-delay) holds the Zone1_RunDown.Q bit true for 3 seconds after the conveyor output drops, giving the motor time to coast. Rung 3: If run-down expires and motor feedback is still absent, a one-shot triggers and latches the fault. Rung 4: The operator can acknowledge and clear the fault only after the run command has been removed. This pattern works directly in Sysmac Studio's NJ/NX ladder editor with BOOL and TOF variables declared in the Global Variable Table.
The diagram above evaluates one scan. Run these exact rungs on a real scan cycle to watch the latching and the timers behave.
Run this in the simulatorCounter instructions follow the same IEC pattern: CTU for count-up, CTD for count-down, CTUD for bidirectional. Declare a CTU function block instance in the variable table, connect the CU (count-up) input, set the PV preset, and read the CV current value or Q done bit. For full counter instruction coverage, PLC Counter Instructions: CTU, CTD and CTUD Explained has detailed examples.
Structured Text for Calculations and Data Handling
Sysmac Studio's Structured Text editor is clean and capable. For analog scaling, recipe calculations or any math-heavy logic, ST is far more readable than ladder. A simple 4-20 mA scaling calculation looks like this:
(* Scale raw INT from NX-AD4208 (0-32000) to engineering units 0-10.0 bar *)
VAR
  PT101_Raw   : INT;
  PT101_Bar   : REAL;
  Raw_Lo      : REAL := 0.0;
  Raw_Hi      : REAL := 32000.0;
  EU_Lo       : REAL := 0.0;
  EU_Hi       : REAL := 10.0;
END_VAR

PT101_Bar := EU_Lo + (EU_Hi - EU_Lo) * (INT_TO_REAL(PT101_Raw) - Raw_Lo) / (Raw_Hi - Raw_Lo);
The NX-AD4208 analog input unit returns values from 0 to 32000 for the 4-20 mA range by default (configurable per channel). Always check the unit's datasheet for the actual raw count range before writing your scaling code. For more on the underlying formula and how it applies across platforms, the 4-20 mA Scaling Formula: The PLC Engineer's Guide and the analog scaling calculator are both useful.
Connecting to Hardware: Ethernet and EtherCAT
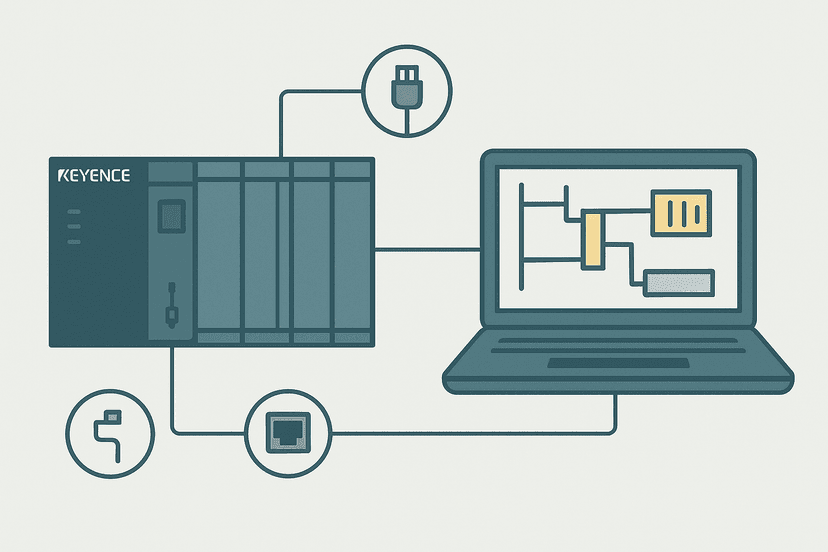
The NJ CPU has two Ethernet ports. The built-in EtherNet/IP port (labelled ECAT on some models, ETN on others) handles PC programming connections and EtherNet/IP comms with drives, I/O and SCADA. Set your PC NIC to a static IP on the 192.168.250.x subnet for a direct cable connection. The controller default is 192.168.250.1. Go to Controller then Communications Setup in Sysmac Studio and enter the IP, then click Go Online.
EtherCAT is the backbone for NX remote I/O, Omron servo drives (G5, 1S series) and third-party EtherCAT slaves. The EtherCAT network configuration lives in its own node in the project tree. Add slaves, assign node addresses and run the Compare function before every download to confirm the physical wiring matches the project. A mismatch here is the number one cause of startup headaches on new builds.
Sysmac Studio vs CX-One: When to Use Which
If you are maintaining an existing CJ2 or CP1H installation, you still need CX-Programmer inside the CX-One suite. Sysmac Studio does not support those platforms. But for any new machine design, the NJ or NX platform with Sysmac Studio is the right choice. The tag-based programming, IEC 61131-3 compliance, integrated motion control via EtherCAT and built-in simulation are a significant step forward. The 5 Types of PLC Programming Languages Explained post explains the IEC 61131-3 standard that underpins Sysmac Studio's multi-language support.
| Feature | CX-One (CJ/CS/CP) | Sysmac Studio (NJ/NX) |
|---|---|---|
| Programming model | Address-based (D, CIO, W) | Symbolic tag-based (IEC 61131-3) |
| Languages | Ladder, ST, SFC (limited) | All 5 IEC 61131-3 languages |
| Motion integration | Separate CX-Motion tool | Built-in, same project tree |
| EtherCAT support | No | Native, built-in master |
| Simulation | Limited (CX-Simulator) | Full software simulator included |
| HMI design | Separate NS-Designer | NA-series HMI in same project |
Practical Tips for Day-to-Day Use
- Use structured variable naming from day one. Prefixes like
bConveyor_Run(BOOL),rPT101_Bar(REAL) andtFill_Timer(TON instance) make the variable table readable at a glance. You will thank yourself during fault-finding at 2 am. - Cross-reference is your best fault-finding tool. Right-click any variable and choose Cross Reference to see every rung that reads or writes it. Far faster than searching code manually.
- Use the Watch Tab for online monitoring. Add variables to the Watch Tab (Ctrl+W) and force them true or false to test logic without modifying the program. This is the equivalent of forcing bits in TIA Portal or Studio 5000.
- Task configuration matters for scan time. The NJ runs multiple tasks. The Primary Periodic Task runs every 1 ms by default. Put all time-critical logic here. Background tasks can run at 4 ms or 8 ms to reduce CPU load on less urgent code.
- Back up with Save to File, not just Save. The Save to File option writes a complete project archive including the controller configuration. The plain Save only saves the IDE project. On a customer machine, always use Save to File and keep it somewhere that is not on the machine's hard drive.
Wiring the physical I/O correctly before testing is obviously critical. If you are wiring 3-wire sensors to the NX digital input units, the PNP vs NPN selection matters at the unit level. Omron's NX-ID5142 is a mixed-logic 24 VDC input unit that accepts both, but most NX input units are fixed. Check the unit spec sheet and your sensor output type before wiring. 3-Wire Sensor Wiring: PNP vs NPN to PLC Inputs covers that decision in detail. For analog wiring, PLC Analog Input Wiring: 4-20 mA Step by Step is the companion guide.
When the system is running and you need to troubleshoot unexpected behavior, the online monitoring tools in Sysmac Studio are strong. You can watch variables update in real time, set breakpoints in ST code and step through logic line by line. PLC Troubleshooting with Online Monitoring explains the general principles that apply equally well inside Sysmac Studio.
Keep Learning
Sysmac Studio is a capable environment once you understand its tag-based model and project structure. If you want to build on what you have learned here, the logical next steps are understanding how IEC 61131-3 timers work across platforms (because the NJ uses them exactly as the standard defines), and getting comfortable with Structured Text for data handling.
- TON, TOF and TONR Timers: What Actually Differs: understand the IEC timer model that Sysmac Studio implements natively.
- Structured Text in TIA Portal: A Practical Guide: Siemens-specific, but the ST syntax is close enough to NJ/NX that the programming patterns transfer directly.
- PLC Counter Instructions: CTU, CTD and CTUD Explained: the same IEC counter blocks used in Sysmac Studio, explained in full detail.
Frequently asked questions
Is Omron Sysmac Studio free to download?
Which Omron PLCs does Sysmac Studio support?
What is the difference between CX-One and Sysmac Studio?
How do I connect Sysmac Studio to a real NJ controller?
Can I simulate an NJ program without real hardware?
What programming languages does Sysmac Studio support?
How do NJ/NX variables work differently from address-based PLCs?
How do I add EtherCAT slaves to an NJ project in Sysmac Studio?
What causes the 'Controller is different from project' error in Sysmac Studio?
Does Sysmac Studio support Modbus RTU?
Now build it
You have just read about CTU and CTD and CTUD. Reading a rung and making one behave are different skills, and the second one is the job.
Batch Counter (CTU + RES)
Intermediateabout 15 minCount parts passing a sensor; after 4 parts the batch is done and a lamp turns on. A reset button starts the next batch. Counters count RUNG EDGES: a part sitting on the sensor counts once, not forever.
Build this rungFree, no signup, runs in your browser. See all 16 exercises.
Was this helpful?